Hello Kitty is one of the most beloved characters, adored by children and adults alike. What better way to celebrate a special occasion than with a stunning Hello Kitty birthday cake? In this guide, we’ll show you how to create a gorgeous and delicious cake from scratch. Whether you’re a seasoned baker or just starting out, this step-by-step tutorial will help you make the perfect cake to wow your guests.
1. Essential Tools and Ingredients for a Hello Kitty Birthday Cake
Creating a Hello Kitty cake requires the right tools and ingredients to ensure a flawless result. Here’s what you need:
Tools You’ll Need
- Cake turntable: For smooth and easy frosting application.
- Piping bag and nozzles: To create intricate designs.
- Round cake pan: For baking the cake layers.
- Whisk and spatula: Essential baking tools.
- Rolling pin: For flattening fondant.
Image Prompt: A flat lay of the essential tools and ingredients.
Ingredients for the Cake Base
- 2 1/2 cups all-purpose flour
- 1 cup unsalted butter (room temperature)
- 1 1/2 cups granulated sugar
- 4 large eggs
- 1 cup whole milk
- 2 teaspoons vanilla extract
- 1 tablespoon baking powder
Ingredients for Decoration
- Buttercream frosting: For icing the cake.
- Fondant icing: To shape Hello Kitty’s face, bow, and other details.
- Edible food coloring: Pink, black, and white.
- Sugar paste flowers: Optional for added flair.
Color Theme Essentials
- Stick to a pink and white color palette for the classic Hello Kitty look.
2. Baking the Perfect Cake Base
Preparing the Vanilla Sponge Cake
- Preheat your oven to 350°F (175°C).
- Grease and flour your round cake pans.
- In a mixing bowl, cream the butter and sugar until light and fluffy.
- Add the eggs one at a time, mixing well after each addition.
- Stir in the vanilla extract.
- In a separate bowl, sift together the flour and baking powder.
- Gradually add the dry ingredients to the wet mixture, alternating with milk.
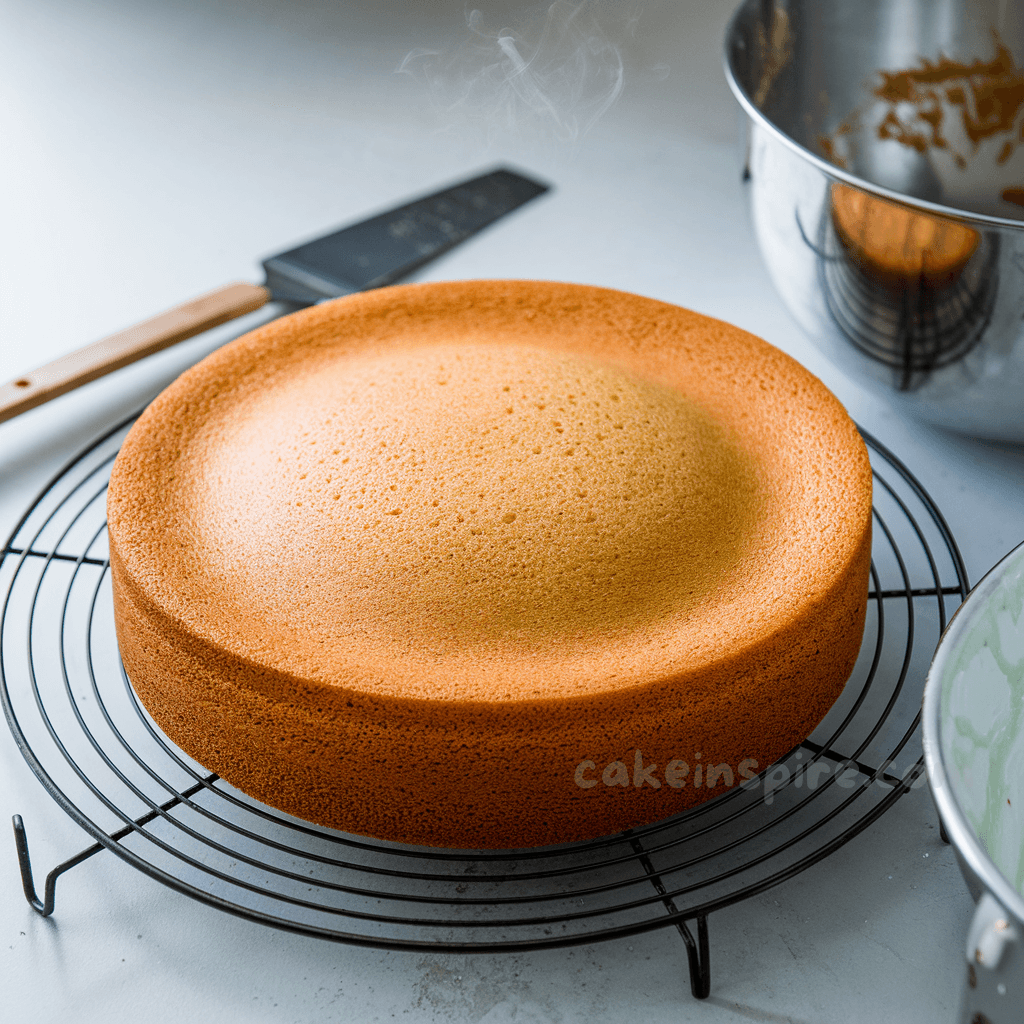
- Pour the batter into the prepared pans and bake for 30-35 minutes or until a toothpick comes out clean.
Choosing the Right Cake Size
Use an 8-inch round pan for a standard-sized Hello Kitty cake. For a taller cake, use multiple layers.
Cooling and Leveling Your Cake
Once baked, allow the cakes to cool completely. Use a serrated knife to level the tops for a smooth surface.
3. Making the Buttercream Frosting and Fondant Decorations
How to Make Smooth Buttercream Frosting
- Beat 1 cup of unsalted butter until creamy.
- Gradually add 4 cups of powdered sugar, mixing continuously.
- Add 2 tablespoons of milk and 1 teaspoon of vanilla extract.
- Mix until smooth and spreadable.
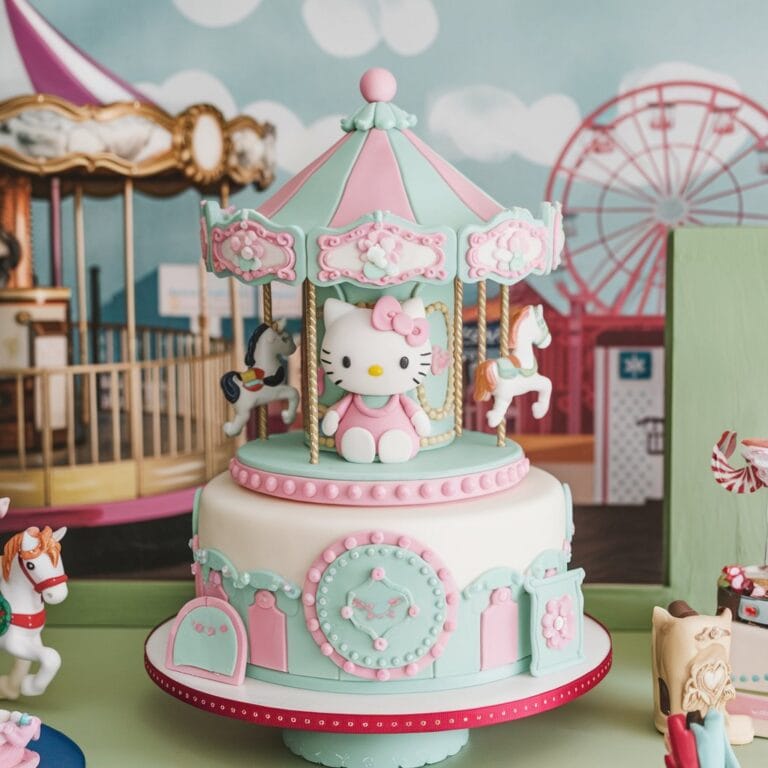
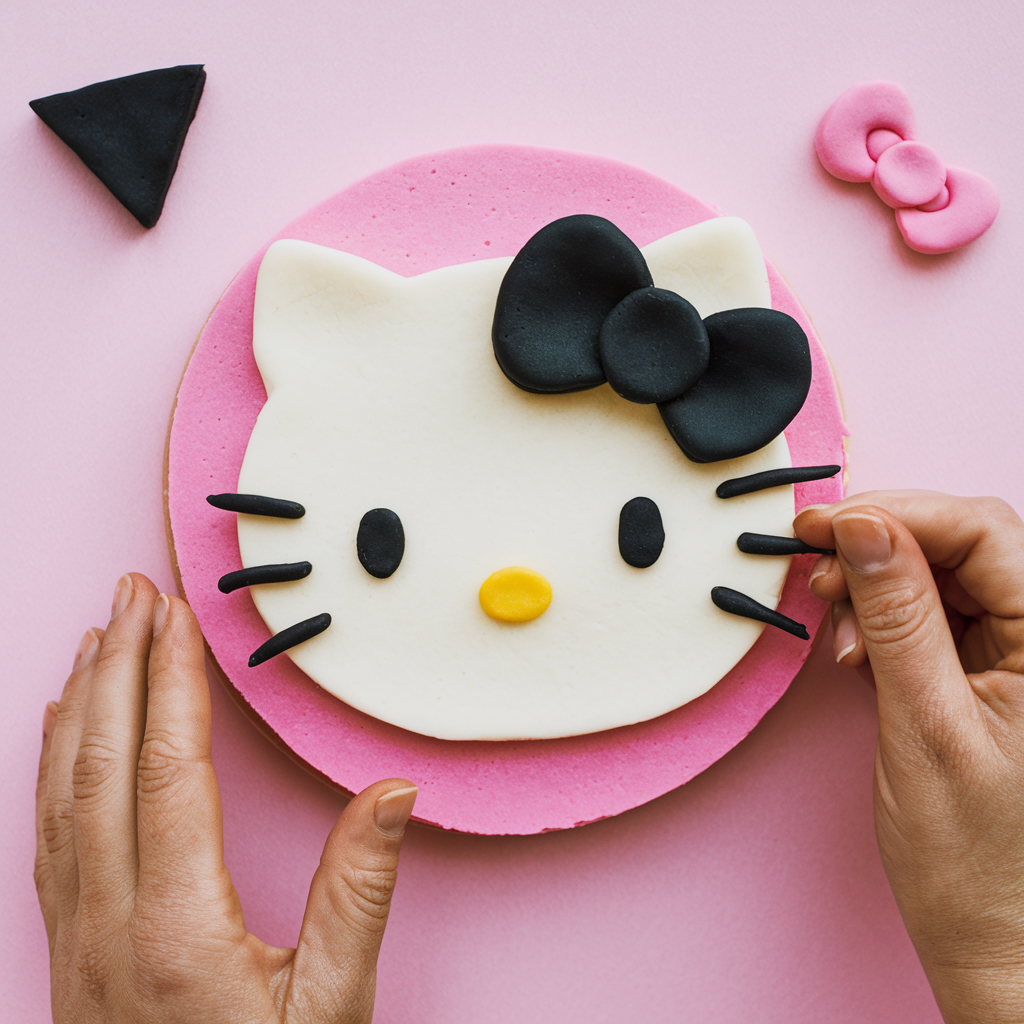
Creating the Hello Kitty Face with Fondant
- Roll out white fondant and cut out an oval shape for Hello Kitty’s face.
- Use black fondant to make the eyes and whiskers.
- Shape pink fondant into a bow and add details with edible food markers.
Coloring Fondant and Frosting
- Use gel food coloring to achieve vibrant pink and black tones.
- Avoid liquid coloring as it may alter the consistency.
4. Assembling and Decorating the Hello Kitty Cake
Frosting the Cake Smoothly
- Place one cake layer on a turntable and spread a thin layer of buttercream frosting.
- Stack the second layer and cover the entire cake with frosting, smoothing it with a spatula.
Placing the Fondant Hello Kitty Face
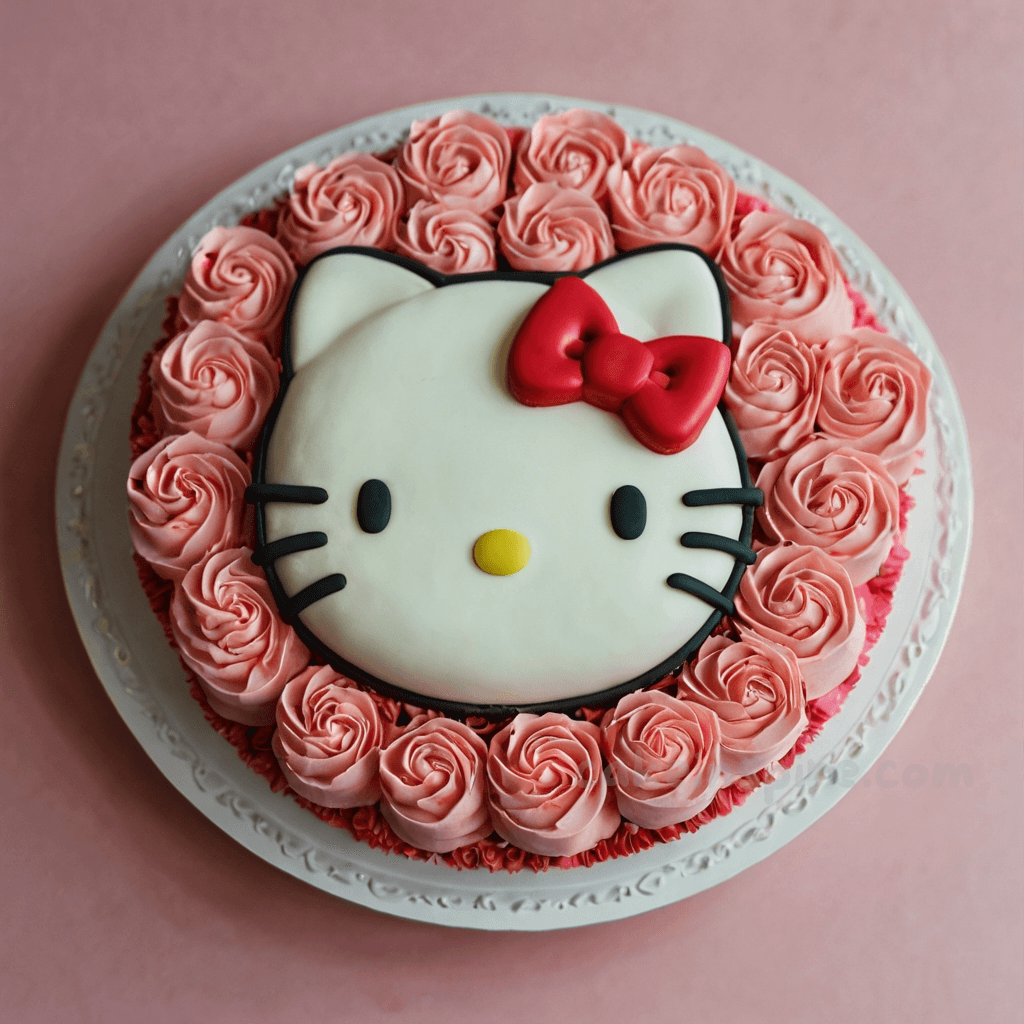
- Gently place the white fondant face on top of the cake.
- Add the eyes, whiskers, and bow to complete Hello Kitty’s look.
Adding Final Details
- Decorate the edges with piping designs using a star nozzle .
- Add sugar paste flowers around the base for a charming touch.
Tips for a Neat Finish
- Use a cake scraper for smooth sides.
- Chill the cake briefly to set the frosting before adding decorations.
5. Hello Kitty Cake Variations and Party Ideas
Simple Hello Kitty Cake for Beginners
For a minimalist look, skip the fondant and pipe Hello Kitty’s face directly onto the cake with buttercream.Check out our article on Hello Kitty Cake Design Ideas for more inspiration.
Themed Cupcakes and Cake Toppers
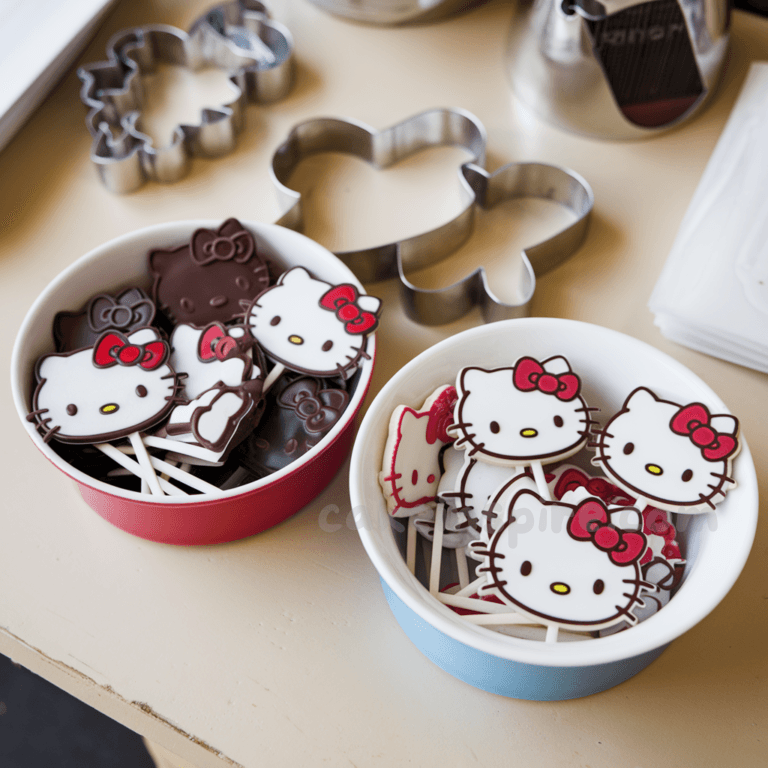
- Create matching cupcakes with mini Hello Kitty toppers.
- Use edible Hello Kitty-themed toppers for quick decorations.
Matching Party Decorations
- Complement the cake with pink and white tableware, balloons, and banners.
Adding Personal Touches
- Write the child’s name or age on the cake using frosting or fondant.
- Incorporate unique elements like glitter or sprinkles.
FAQ
1. Can I make this cake without fondant?
Yes, you can skip the fondant and use buttercream frosting to create Hello Kitty’s face. Pipe the details using a piping bag and edible food markers.
2. How far in advance can I make the cake?
You can bake the cake layers up to two days in advance. Store them in an airtight container at room temperature. Decorate the cake a day before the event for the best results.
3. Can I use a store-bought cake mix?
Absolutely! A store-bought vanilla cake mix works well if you’re short on time. Follow the package instructions and proceed with the decorating steps.
4. How do I store leftover cake?
Cover the cake with plastic wrap or store it in an airtight container. Keep it in the refrigerator for up to three days.
5. Where can I find Hello Kitty cake toppers?
You can purchase Hello Kitty cake toppers online or at local baking supply stores. Alternatively, you can create edible toppers using fondant.
Conclusion
Creating a Hello Kitty birthday cake is a fun and rewarding experience that will bring joy to any celebration. With this step-by-step guide, you can craft a stunning cake that’s as delicious as it is adorable. Don’t forget to share your creations in the comments below! For more baking tutorials and decorating ideas, subscribe to our blog.


