If you’re craving a delicious dessert that’s easy to make and packed with flavor, look no further than the classic pineapple upside-down cake! This retro dessert is a fan favorite for a reason: it’s sweet, moist, and visually stunning with its caramelized pineapple topping. Using a cake mix makes this recipe foolproof, meaning you’ll spend less time baking and more time enjoying. Ready to wow your taste buds? Let’s get started on this delightful pineapple upside-down cake recipe!

Ingredients for Pineapple Upside-Down Cake with Cake Mix
For this recipe, you’ll need the following ingredients:
- 1 box of yellow or white cake mix
- 1 can of pineapple slices in juice (reserve the juice)
- 1/3 cup of butter (melted)
- 3/4 cup of brown sugar
- Maraschino cherries (optional, for garnish)
- Eggs, water, and oil (as required by the cake mix package)
Step-by-Step Instructions for Making Pineapple Upside-Down Cake
Let’s dive into each step to make this delightful dessert!
Step 1: Prepare Your Baking Pan
Start by greasing a 9×13-inch baking pan or a large round pan. Melt the butter and pour it into the bottom of the pan, making sure it covers evenly. Then sprinkle the brown sugar over the melted butter to create a caramel layer.
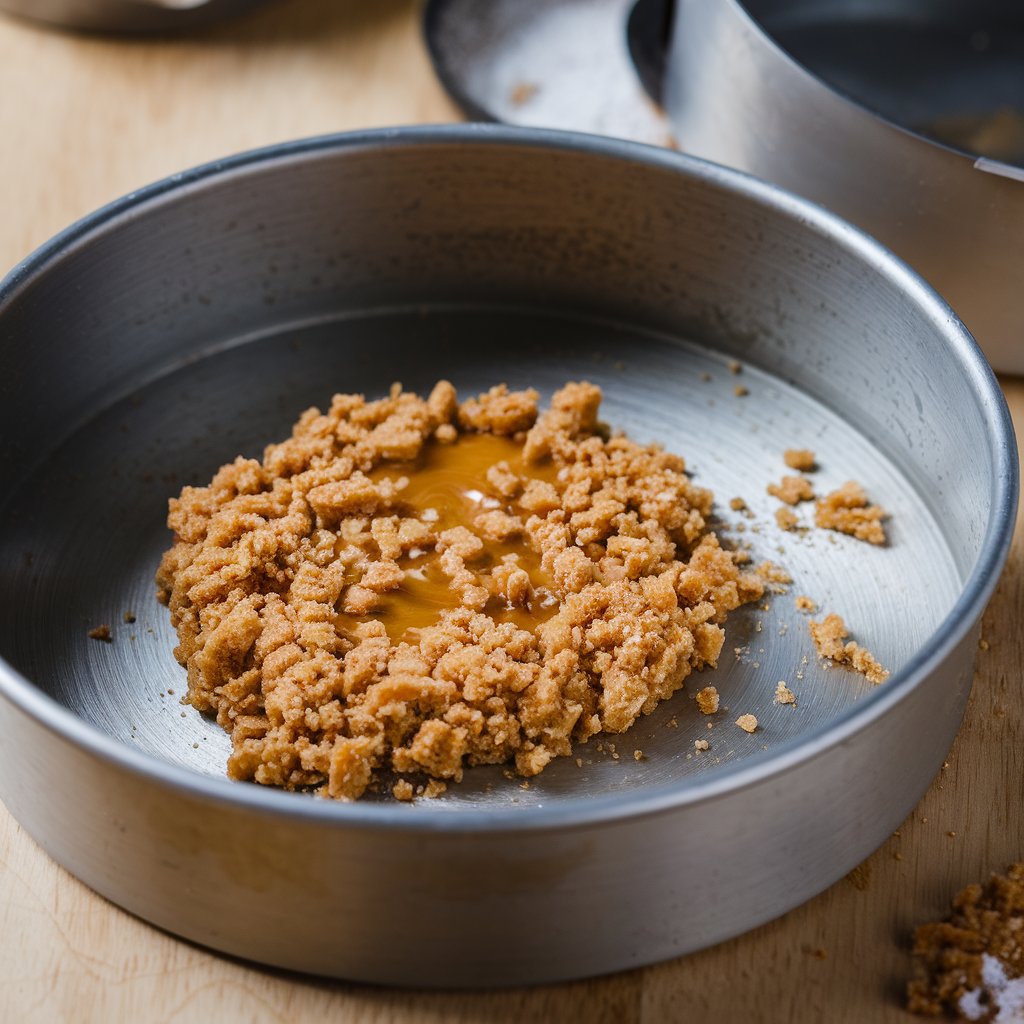
Step 2: Arrange the Pineapple Slices and Cherries
Place the pineapple slices on top of the butter and brown sugar mixture. Arrange them in a single layer, leaving a bit of space between each slice. For a classic look, put a maraschino cherry in the center of each pineapple slice.
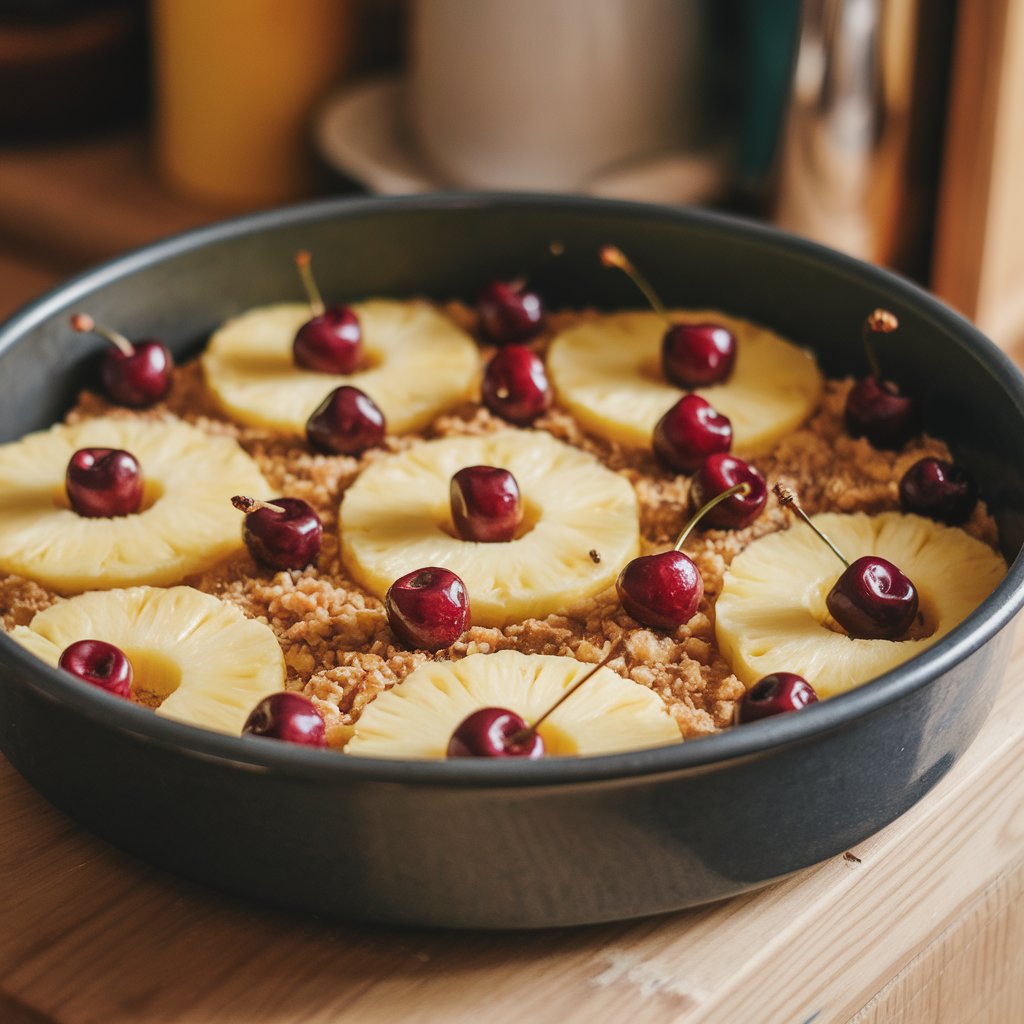
Step 3: Mix the Cake Batter
Prepare the cake batter according to the instructions on the box. Use the reserved pineapple juice in place of water to enhance the tropical flavor. Mix until smooth but be careful not to overmix, as this could make the cake dense.
Step 4: Pour the Batter Over the Pineapple Layer
Gently pour the prepared cake batter over the pineapple and cherry layer. Spread it evenly with a spatula, making sure the fruit stays in place.
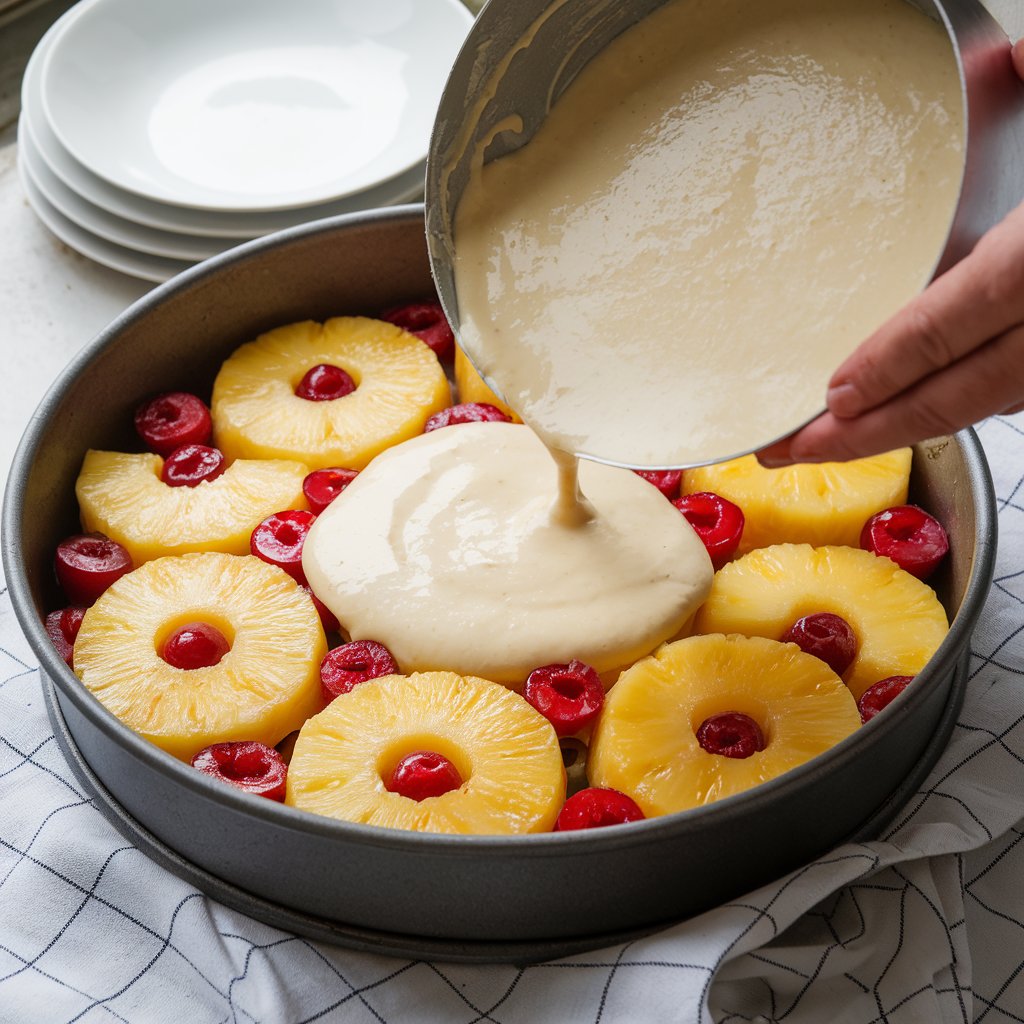
Step 5: Bake the Cake
Place the cake in a preheated oven at 350°F (175°C) and bake for 35-40 minutes. To check if it’s done, insert a toothpick into the center; if it comes out clean, your cake is ready!
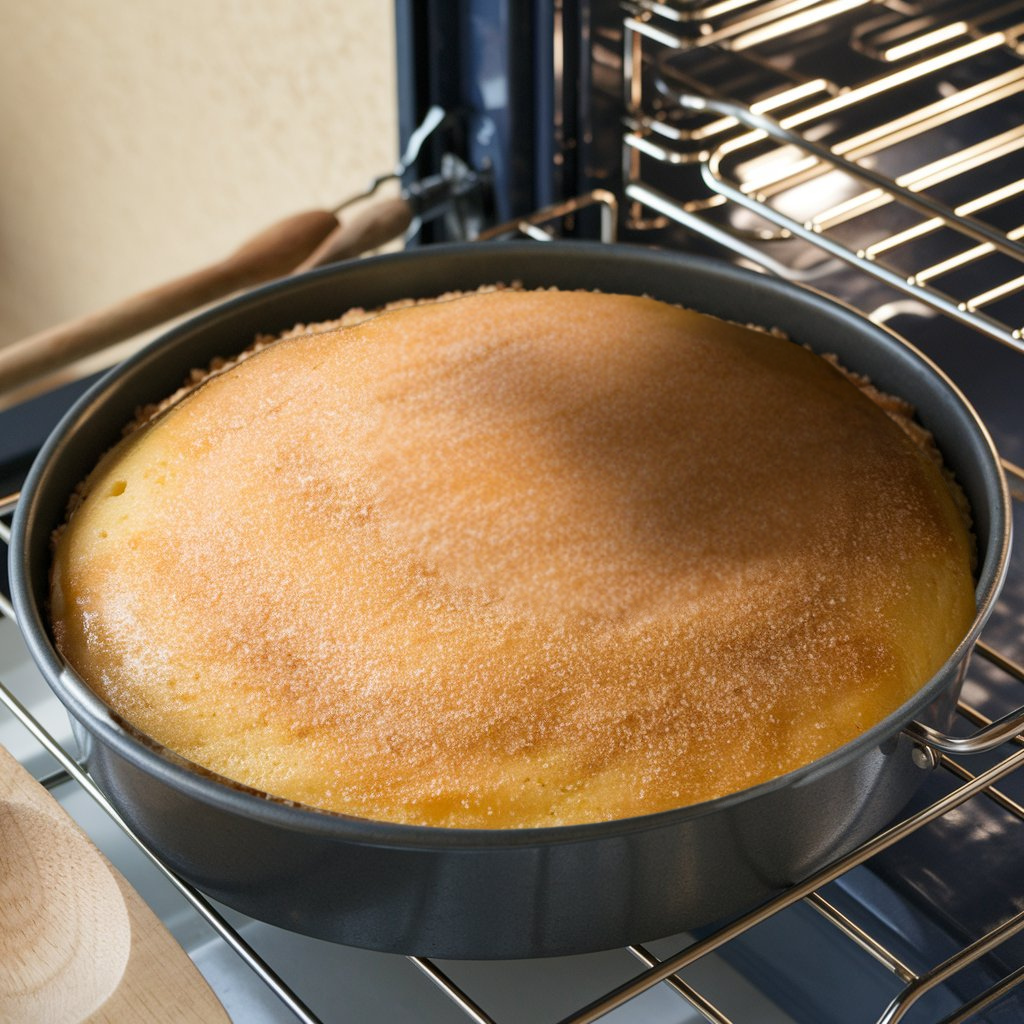
Step 6: Let the Cake Cool and Flip It
Once baked, allow the cake to cool for about 10 minutes in the pan. Run a knife along the edges to loosen it, then place a large plate over the pan and carefully flip the cake upside down. Lift the pan off gently to reveal the caramelized pineapple topping.

Tips for the Best Pineapple Upside-Down Cake Texture and Flavor
Here are a few tips to make sure your cake turns out perfect every time:
- Use pineapple juice for extra flavor in the batter.
- Swap butter for oil in the cake mix for a richer taste.
- Avoid overmixing the batter to keep the cake light and fluffy.
- Check for doneness with a toothpick or fork to avoid overbaking.
How to Serve Pineapple Upside-Down Cake
Serve this cake warm with a scoop of vanilla ice cream or a dollop of whipped cream on top. This dessert is perfect for family gatherings, birthdays, or just an afternoon treat!

Storing and Reheating Pineapple Upside-Down Cake
- Storing: Cover the cake tightly with plastic wrap and store it in the refrigerator for up to 3 days.
- Reheating: Warm a slice in the microwave for 10-15 seconds for that freshly baked taste.
Conclusion
And that’s it! You’ve just made a delightful pineapple upside-down cake with a cake mix. This dessert combines convenience and classic flavor, making it perfect for any occasion. Enjoy the delicious caramelized pineapples and soft, moist cake with friends and family. Now that you know how to make this classic treat, you’ll be reaching for this recipe anytime you need an easy, crowd-pleasing dessert. Happy baking!






Hello!
Good cheer to all on this beautiful day!!!!!
Good luck 🙂